
Read time: 4 minutes. Short version: in Notebook Intelligence, type /lesson and say what you want to learn. Answer a few quick questions. In about 3 to 4 minutes you get a folder of numbered notebooks that teach the topic, with runnable code and exercises. Every notebook cites the source it was built from.
What it is
The Lesson Builder is a mode of Notebook Intelligence, the AI assistant in your workspace (see Notebook Intelligence and your LLMs). You give it a topic, or a link to a document, and it writes a short course for you as Jupyter notebooks, saved in your files. You learn by running the cells and doing the exercises.
It works for any topic you can name: a Python library, a NASA archive's API, a data format, a method you keep seeing in papers. If you give it a URL, the lesson is built from that page and cites it.
Step 1 — Ask for a lesson
Open the Notebook Intelligence panel and type /lesson, then say what you want to learn. You can paste a link to the document you want the lesson to be based on.
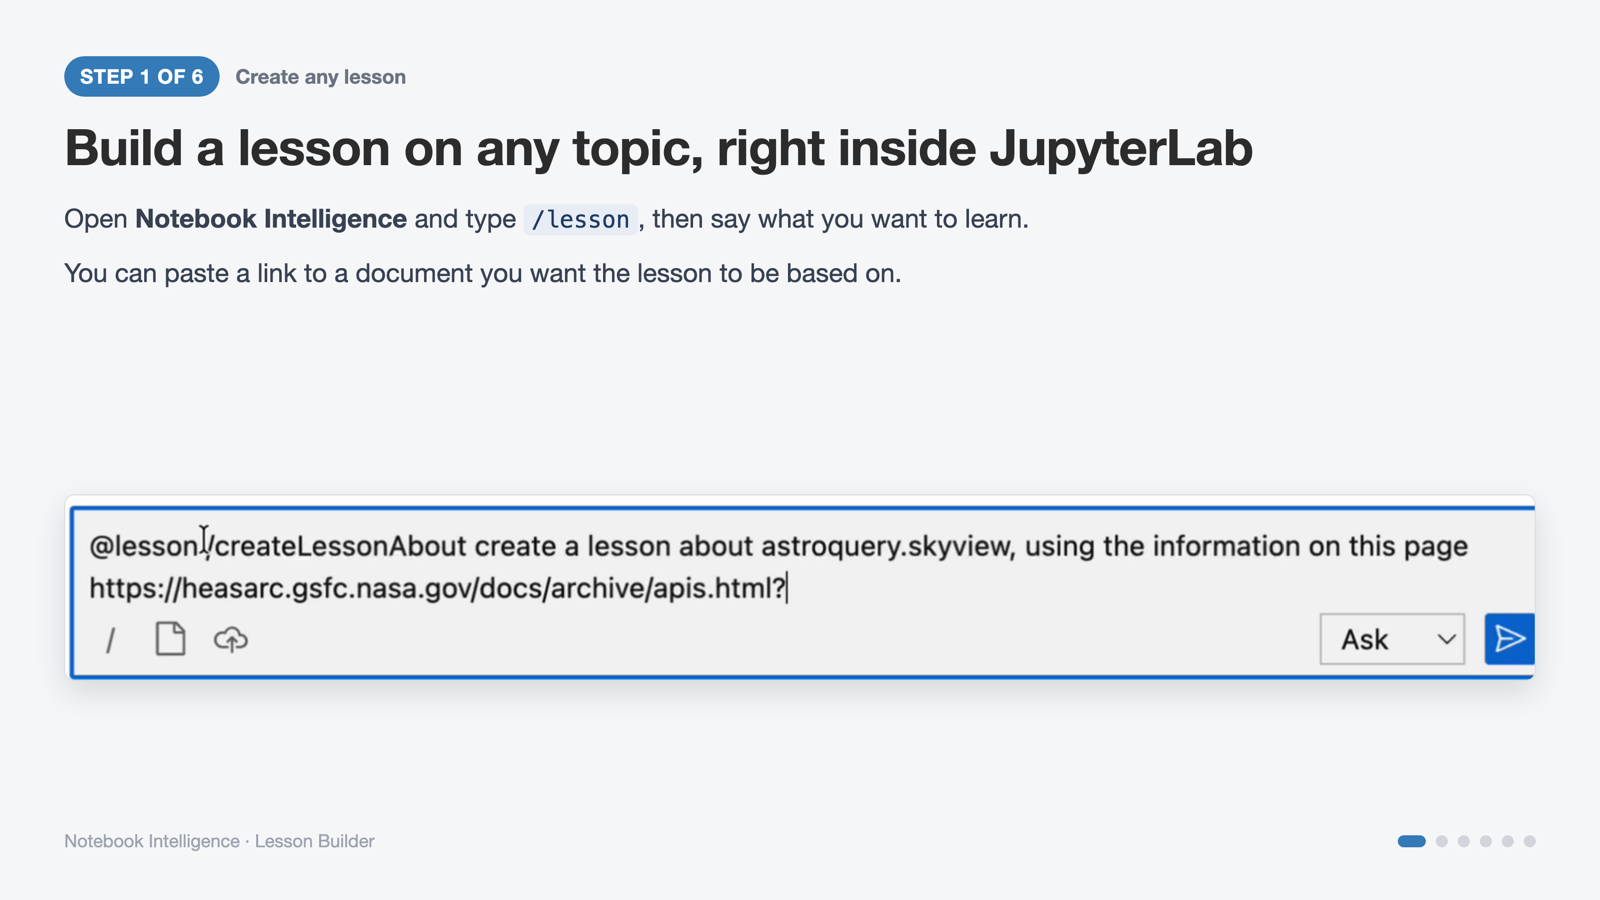
Step 1: the /lesson command with a topic and a source link.
For example:
/lesson create a lesson about astroquery.skyview, using the information on this page
https://heasarc.gsfc.nasa.gov/docs/archive/apis.html
Step 2 — Point it at a source
- Give a URL and the lesson is built from that page, and the page is cited.
- No link? The assistant searches online and picks sources for you.
- It works with documentation pages, API references, papers and tutorials.
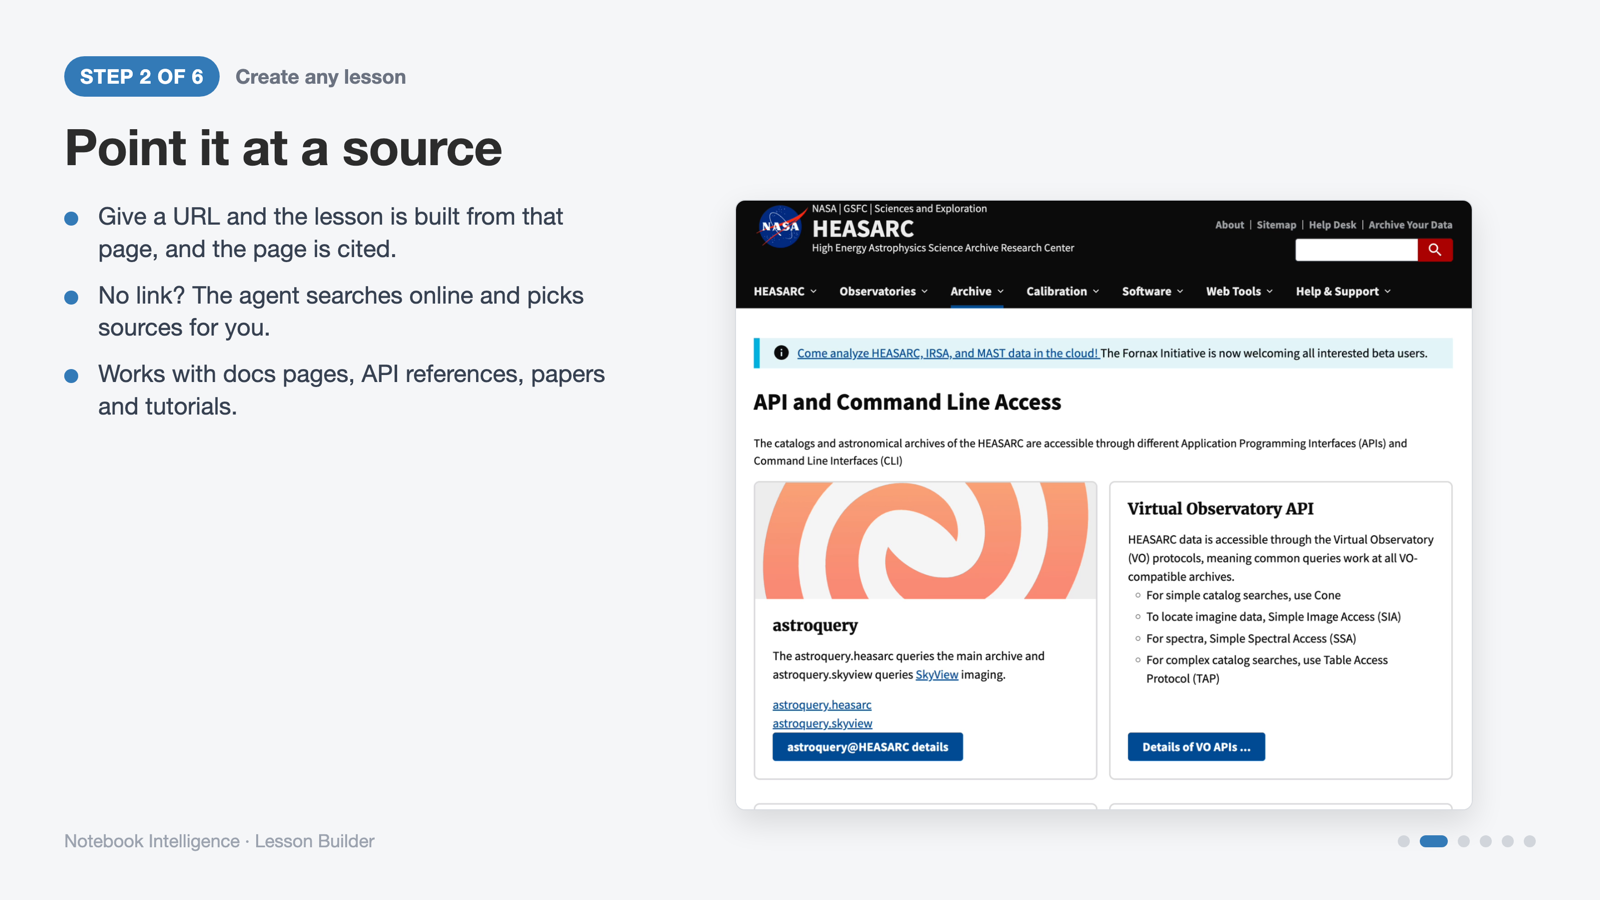
Step 2: a documentation page used as the source.
Step 3 — Answer a few quick questions
The Lesson Builder asks three things before it writes anything:
| Question | Your choices |
|---|---|
| Where to save the lesson | A new folder in your files, or inside an existing one |
| How you learn | Explain first, example first, question first, or build along |
| How long | About 15 minutes (one notebook), 45 minutes (three), 2 hours (five), or a multi-session course |
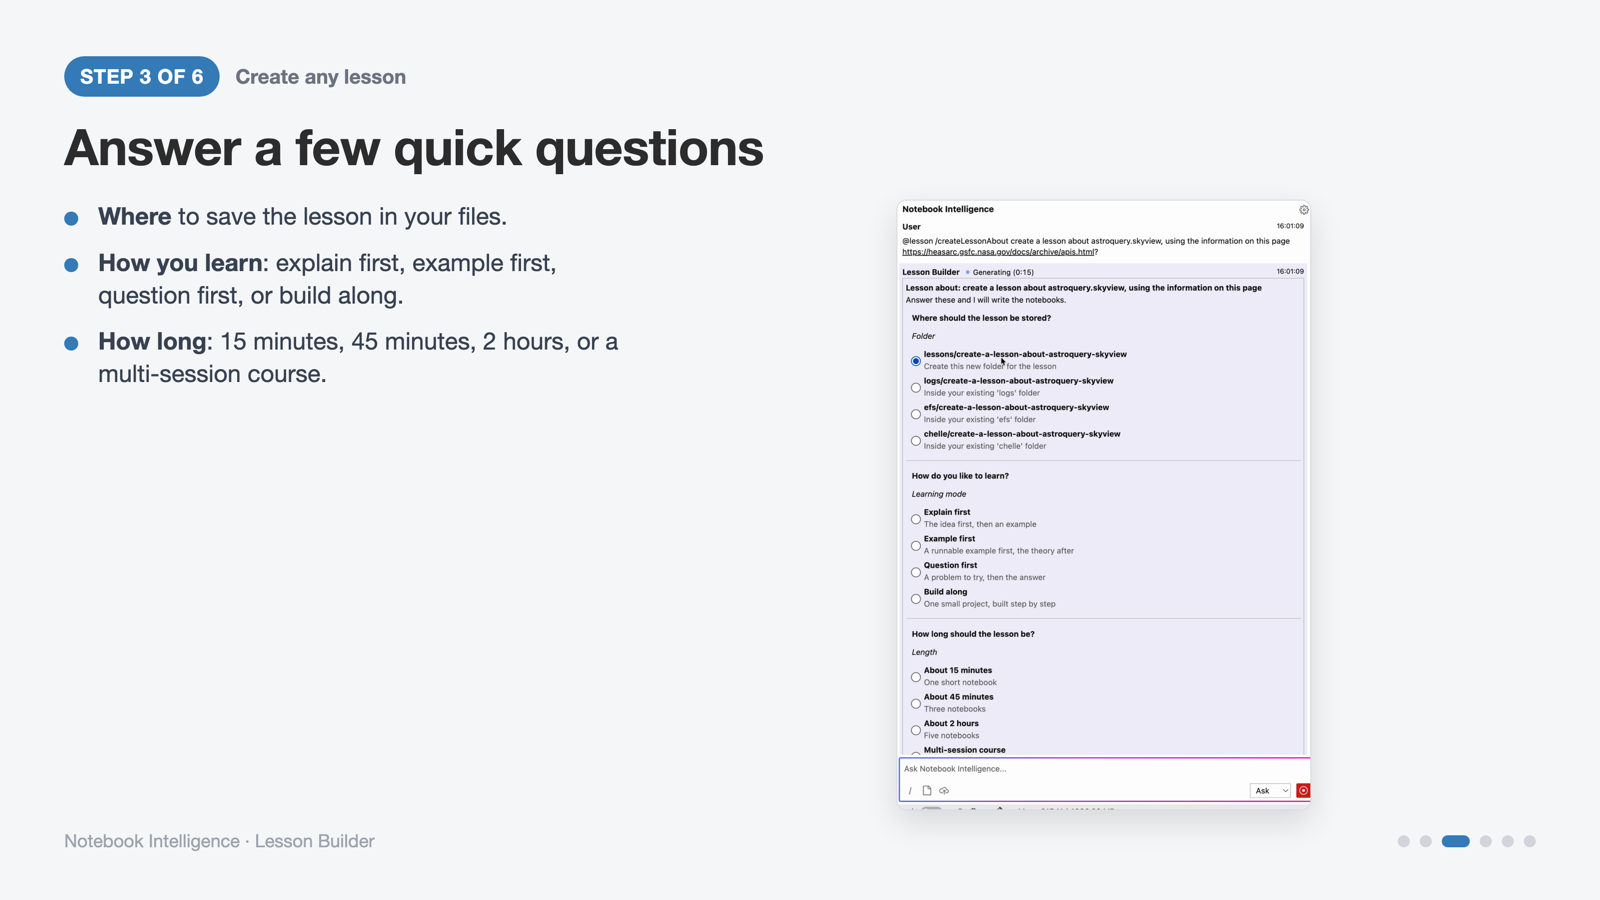
Step 3: where to save it, how you learn, how long.
Step 4 — Make it fit you
| Question | Your choices |
|---|---|
| Style | Hands-on, with runnable code and exercises; or reading only |
| Prior level | New to it, some experience, or experienced |
| Why you need it | Use it in current work, start a new project, prepare a talk or class, or curiosity |
| Which source to teach from | The link you gave, or no source (what the model already knows) |
Then click Next.
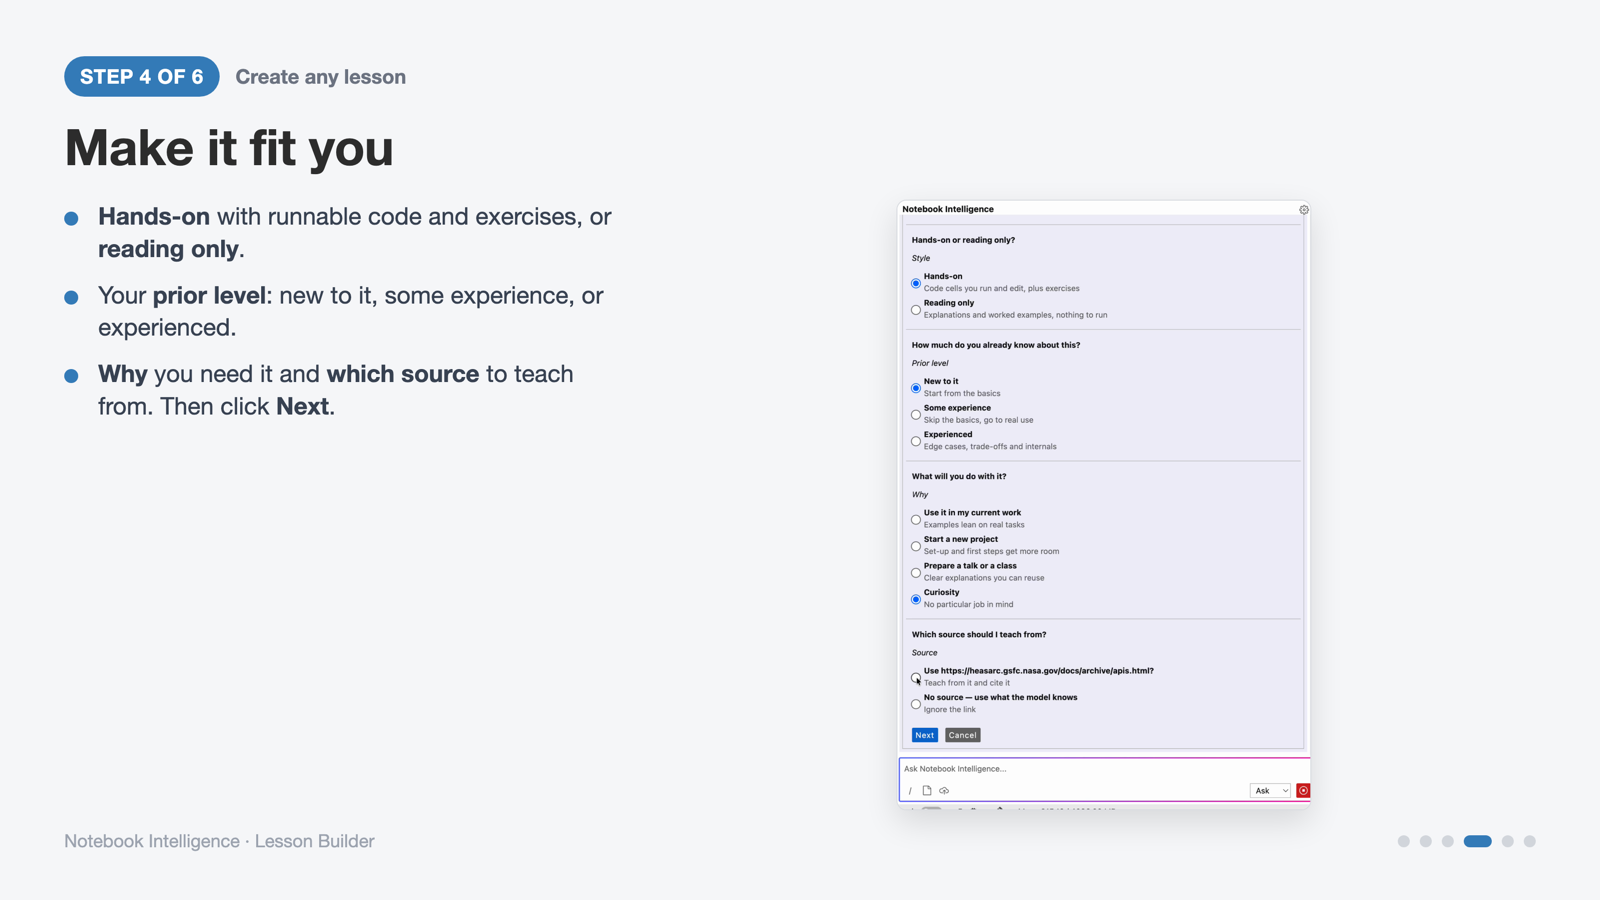
Step 4: style, prior level, purpose and source.
Step 5 — The assistant plans and writes the notebooks
In about 3 to 4 minutes you get a set of numbered notebooks in the folder you chose.
00-overview.ipynbtells you where to start.MISSION.mdrecords what you asked for.- Every notebook cites the source it was built from.
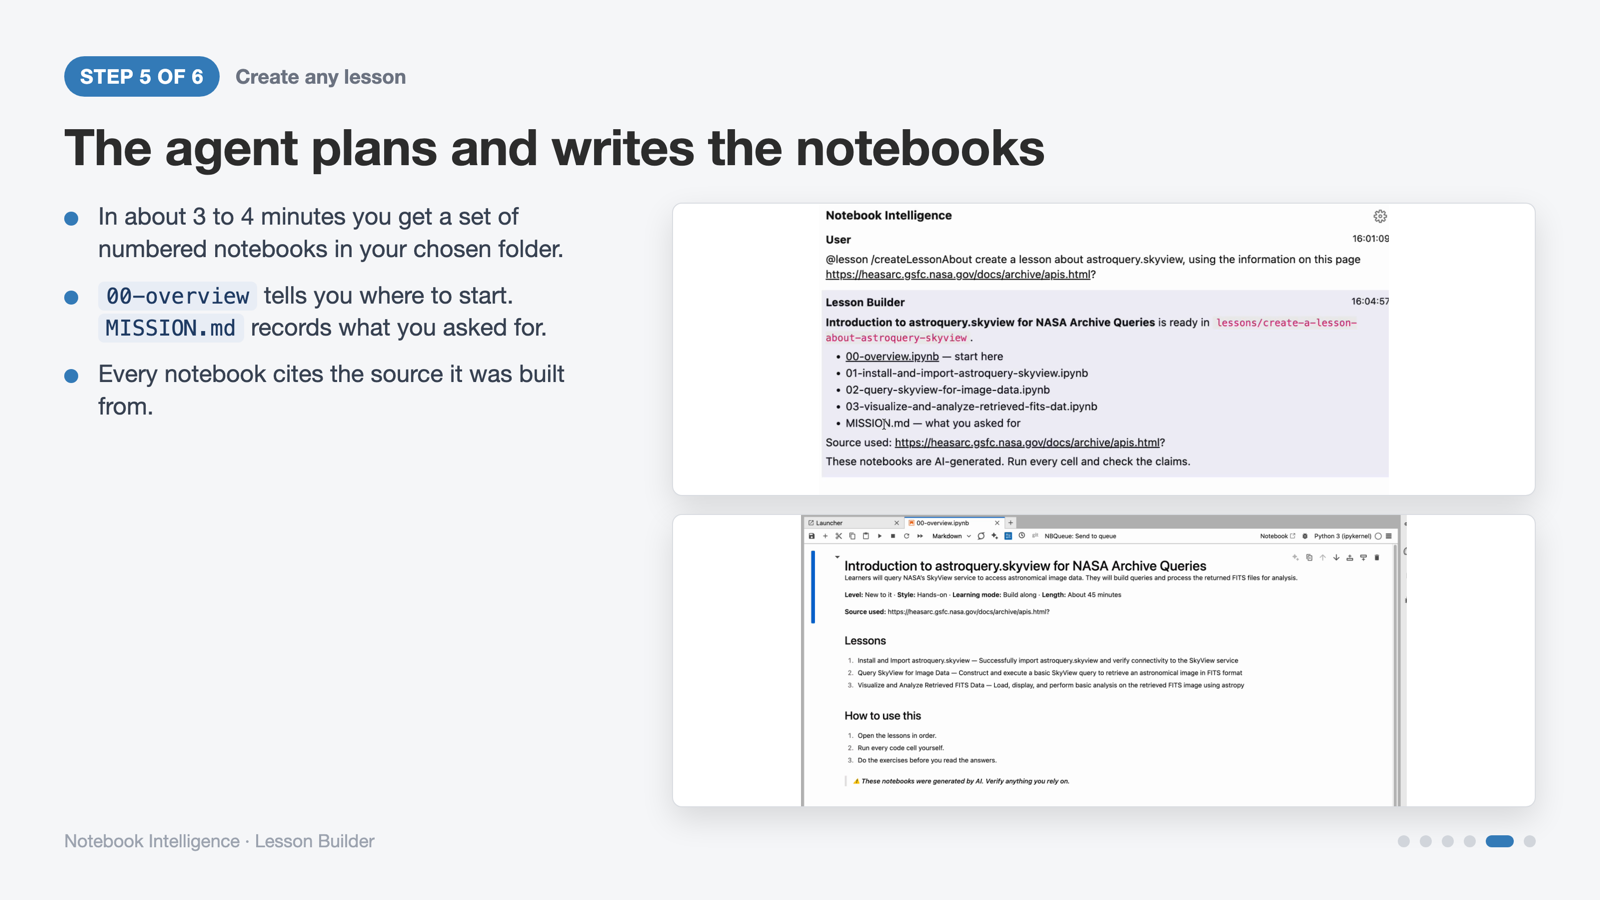
Step 5: the finished lesson folder and its overview notebook.
Step 6 — Learn by doing
- Each notebook mixes short explanations, runnable code and Try It exercises.
- Run every cell, fill in the exercises, and check the results yourself.
- Want more depth or a different style? Ask for a new lesson any time.
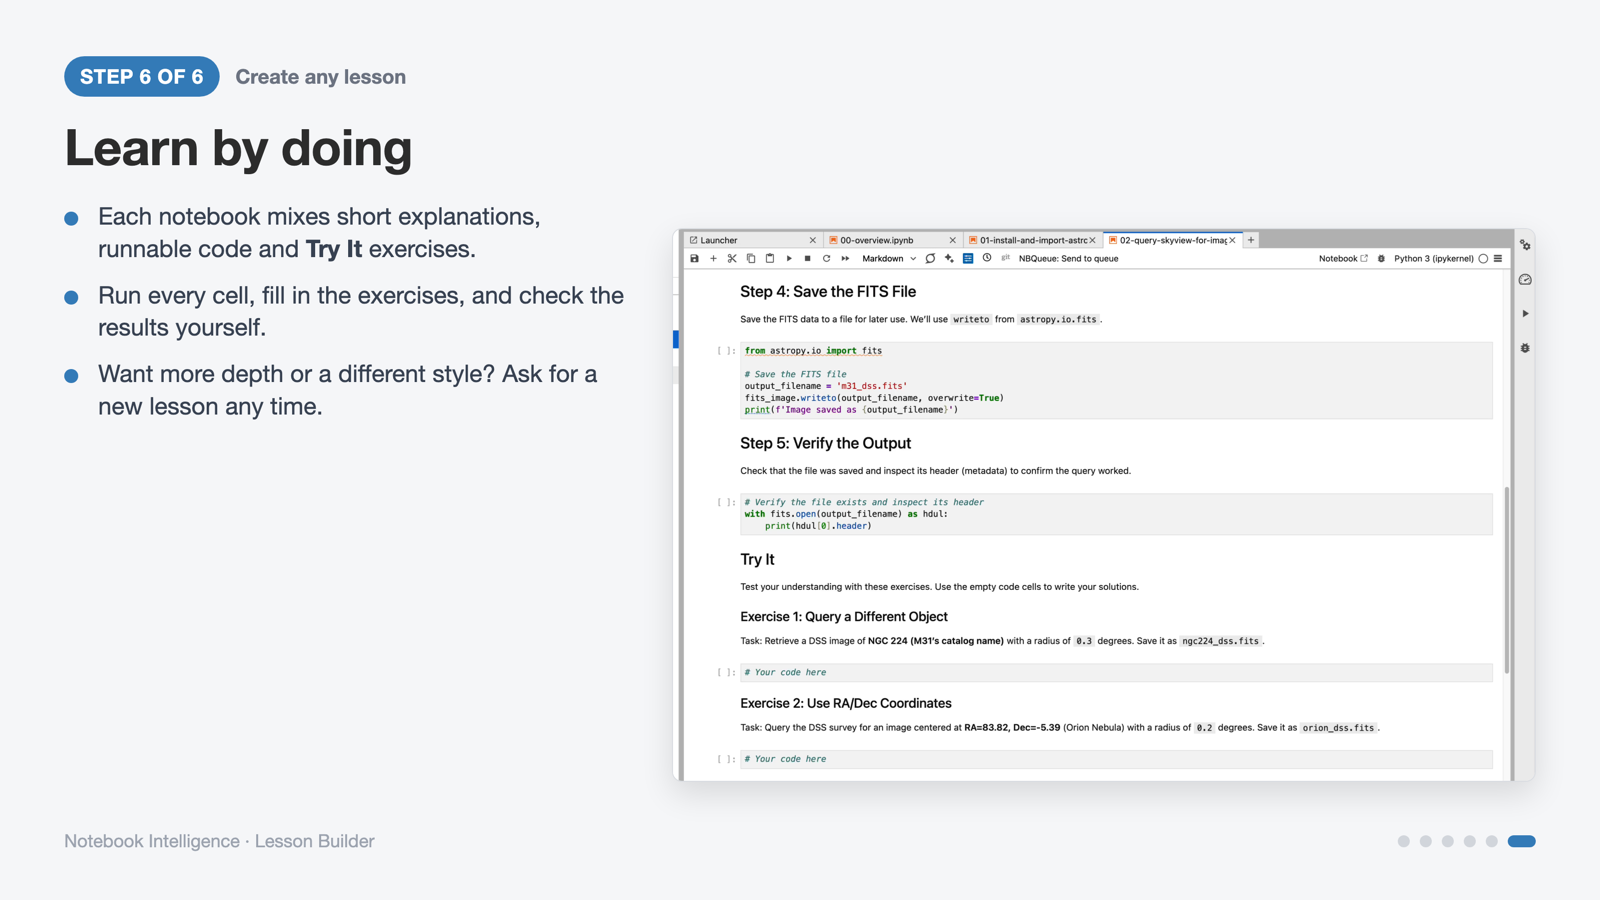
Step 6: a lesson notebook with a worked step and Try It exercises.
Good to know
These notebooks are AI-generated. Run every cell and check the claims against the cited source before you rely on them. The overview notebook says this too.
- The lesson is saved in your files. To share it with your project, save it under
/efs/<project>or copy it there afterwards. - Lessons cost what any notebook costs: your server time while you run them. Building the lesson uses the model you have connected in Notebook Intelligence.
- The
/lessoncommand is available in the platform's current software image. If you do not see it, restart your server on the current image, or ask your project admin.