Read time: 6 minutes. Short version: JupyterLab has a built-in AI assistant. You choose which AI model it talks to. You can bring your own, buy a GitHub Copilot seat through the Science Cloud, or ask to join the pilot for the Science Cloud's own model. |
Notebook Intelligence is the AI assistant built into your workspace. It is not a separate web page. It sits next to your notebook.
An LLM (large language model) is the AI model that answers. Notebook Intelligence is the part in JupyterLab; the LLM is the brain it talks to. You choose the brain.
| Feature | What it means for you |
|---|---|
| Chat | Ask a question in a side panel and get an answer about your code or your data |
| Inline completion | It suggests the rest of the line or block as you type |
| Agent mode | It can create a notebook, edit cells, and run them for you |
| Tools (MCP) | It can use extra tools you give it, such as a data-catalog search |
| Approval step | For actions that change things, it asks you first |
Notebook Intelligence at work, recorded in a live workspace.
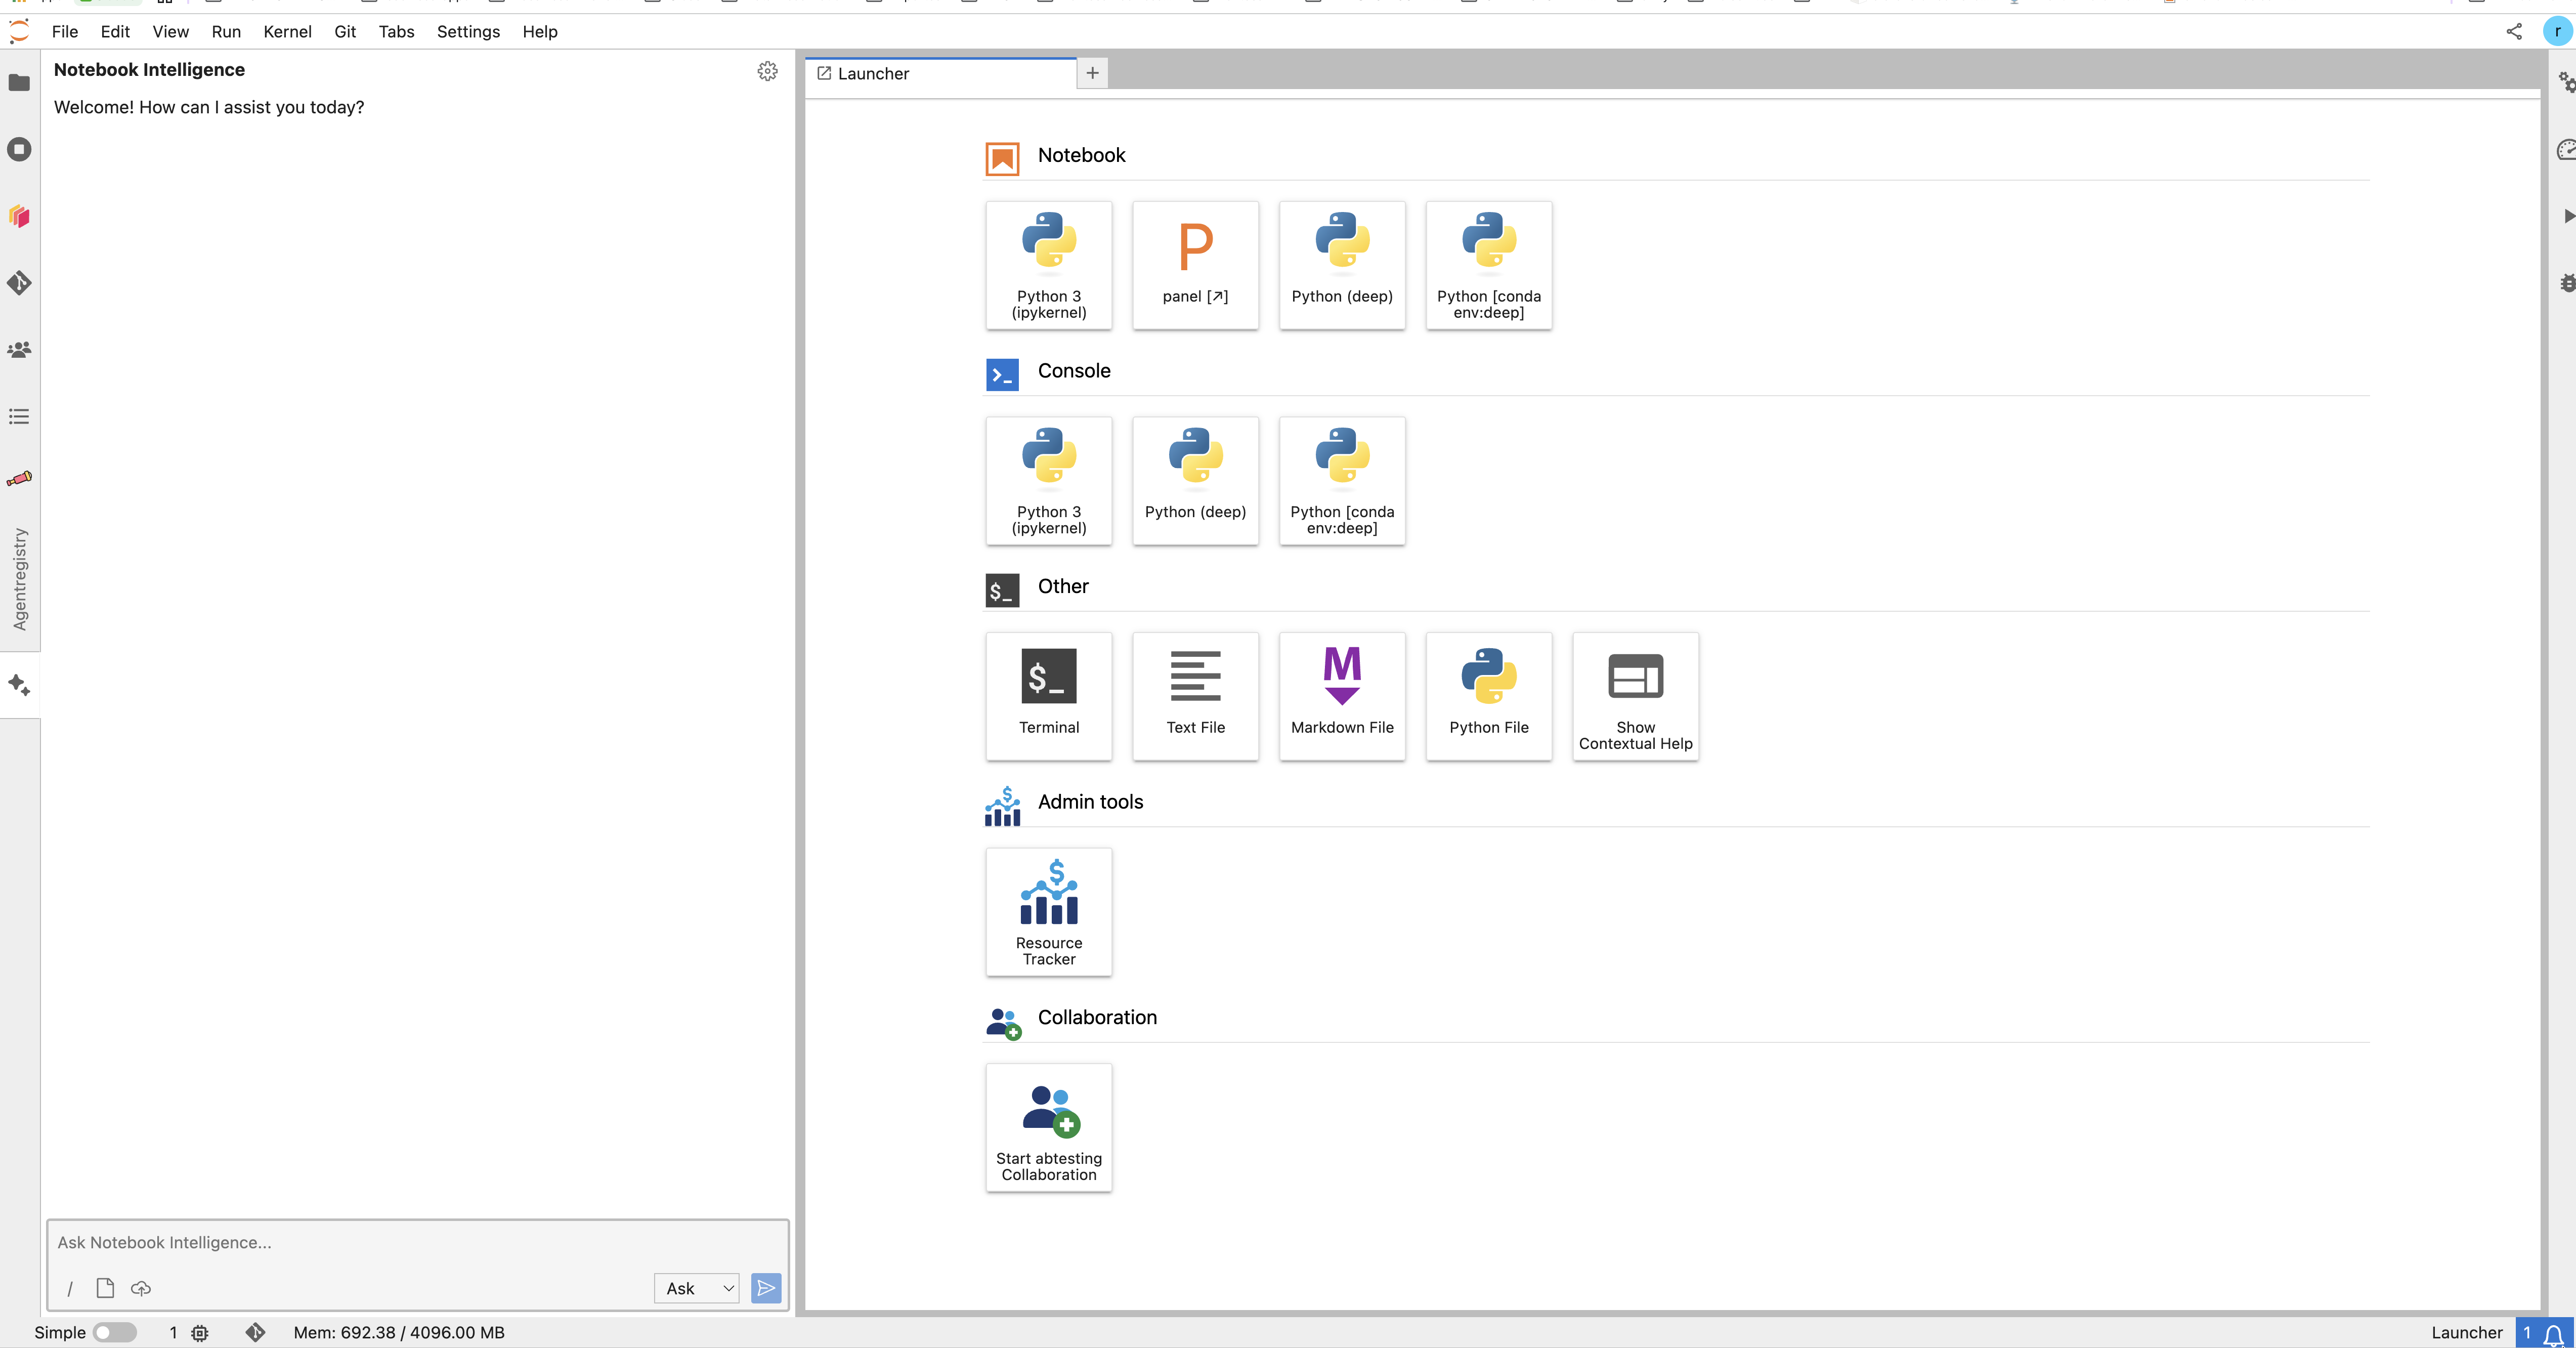
The chat panel. The mode selector next to the send button chooses between asking and acting.
Explain. Select a cell you do not understand and ask what it does. |
Write. In an empty cell, type "read this CSV, drop empty rows, plot the monthly mean". Read the code it writes. Then run it. |
Fix. A cell fails. Ask what the error means and let it correct the cell. |
Do a job. In agent mode, ask it to build a small notebook that loads a file and makes three charts. It creates the cells and runs them. It asks before it changes anything. |
Use a tool. In the AgentRegistry panel, press Add to NBI on an approved MCP server. The assistant can then use that tool in your next question. See the tool reference. |
| Way | What you do | Who pays |
|---|---|---|
| 1. Bring your own | Use your own licence or API key from a provider | You or your project, direct to the provider |
| 2. GitHub Copilot through the Science Cloud | Ask the Science Cloud for a Copilot subscription | Through the Science Cloud |
| 3. Skippy — the Science Cloud's own model | Ask to become a pilot user | The Science Cloud |
Skippy is in pilot. The Science Cloud's internal model, Skippy, is not a general service yet. It is running as a pilot. Ask |
Coming later. Running models through the AI Registry, and through AWS Bedrock. Not available today.
Notebook Intelligence supports these provider types:
| Provider | Notes |
|---|---|
| GitHub Copilot | Sign in with your GitHub account |
| OpenAI-compatible | Any service that speaks the OpenAI API — this is the setting to use for most hosted models, and for the Science Cloud's own endpoint |
| LiteLLM-compatible | For a LiteLLM gateway |
| Ollama | Models running locally, in your own workspace |
| Anthropic Claude | Through the Claude Code command-line tool, in Claude mode |
GitHub Copilot is different: you sign in to GitHub instead of pasting a key. You can tick "Remember my GitHub Copilot access token", which stores an encrypted token in ~/.jupyter/nbi/user-data.json.
Your settings live in ~/.jupyter/nbi/config.json, inside your home folder — so they survive a restart. There can also be a shared default for the whole software set.
Your API key is stored in plain text. An API key you type into the settings is written into |
This part matters. Read it before you connect anything.
Do not use a model built in a country on NASA's designated country list. Models from countries that are not on that list are generally acceptable.
The list is published by NASA: <https://www.nasa.gov/wp-content/uploads/2026/08/designated-country-list-8-4-2026.pdf>
If you are not sure about a model, ask before you use it. Write to support@sciencecloud.nasa.gov. The Research Platform support team will tell you. Asking takes a few minutes. Guessing wrong is a security incident.
Two more habits worth keeping:
Do I need a key to start? For GitHub Copilot you sign in instead. For most other providers, yes, you need a key or a licence. For Skippy, you need to be a pilot user.
Does the platform pay for my model use? Only for the routes the Science Cloud provides — a Copilot subscription through the Science Cloud, or Skippy. If you bring your own key, you pay the provider yourself.
Can I run a model with no internet provider at all? Yes. Ollama runs a model inside your own workspace. It is limited by the size of the machine you picked, and the machine's cost still applies.
Do my settings follow me to a new workspace? Yes, if they are in your home folder. They do not follow you into a collaboration session, which is a separate shared workspace.