
| Warning |
|---|
Draft for review. This page is under review before the Operational Readiness Review. Panels marked as open questions are still waiting for an answer. Send corrections to the Research Platform team. |
| Info |
|---|
Read time: 8 minutes. This page walks through one working day, in order. Prefer a tool-by-tool list? Read the tool reference instead. The team will decide which of the two pages to publish, or publish both. |
Before You Start
To log in, you must already be a member of an active project and have either:
...
| Your file | Put it here |
|---|---|
| My notebooks and scripts | Home folder, ~ |
| Data or a result my team needs | The project folder, /efs/<project> |
| A very large dataset | Object storage |
| A scratch file I do not care about | Anywhere. It will be lost. |
Step 5: Do the science
- Open the Launcher and start a new notebook.
- Type your code into a cell.
- Press
Shift + Enterto run it. The results will appear immediately below the cell.
Note: This behaves exactly like a standard Jupyter Notebook. If you've used Jupyter before, you'll feel right at home!
Step 5b: Create a Custom Kernel from a Conda Environment
Sometimes, the pre-configured software environments don't include the specific package versions your project requires. When this happens, you can build your own Conda environment and use it as a custom kernel.
- Environment: Your private, isolated set of software packages.
- Kernel: The computation engine that runs your code (this appears as an option in the notebook's "choose your language" menu).
Important: Always build your environment in your home folder. This ensures your custom packages persist and survive any system restarts.
- To get started, open a Terminal from the Launcher and run the following commands:
...
2. Use Kernel → Change Kernel in your notebook and pick it.
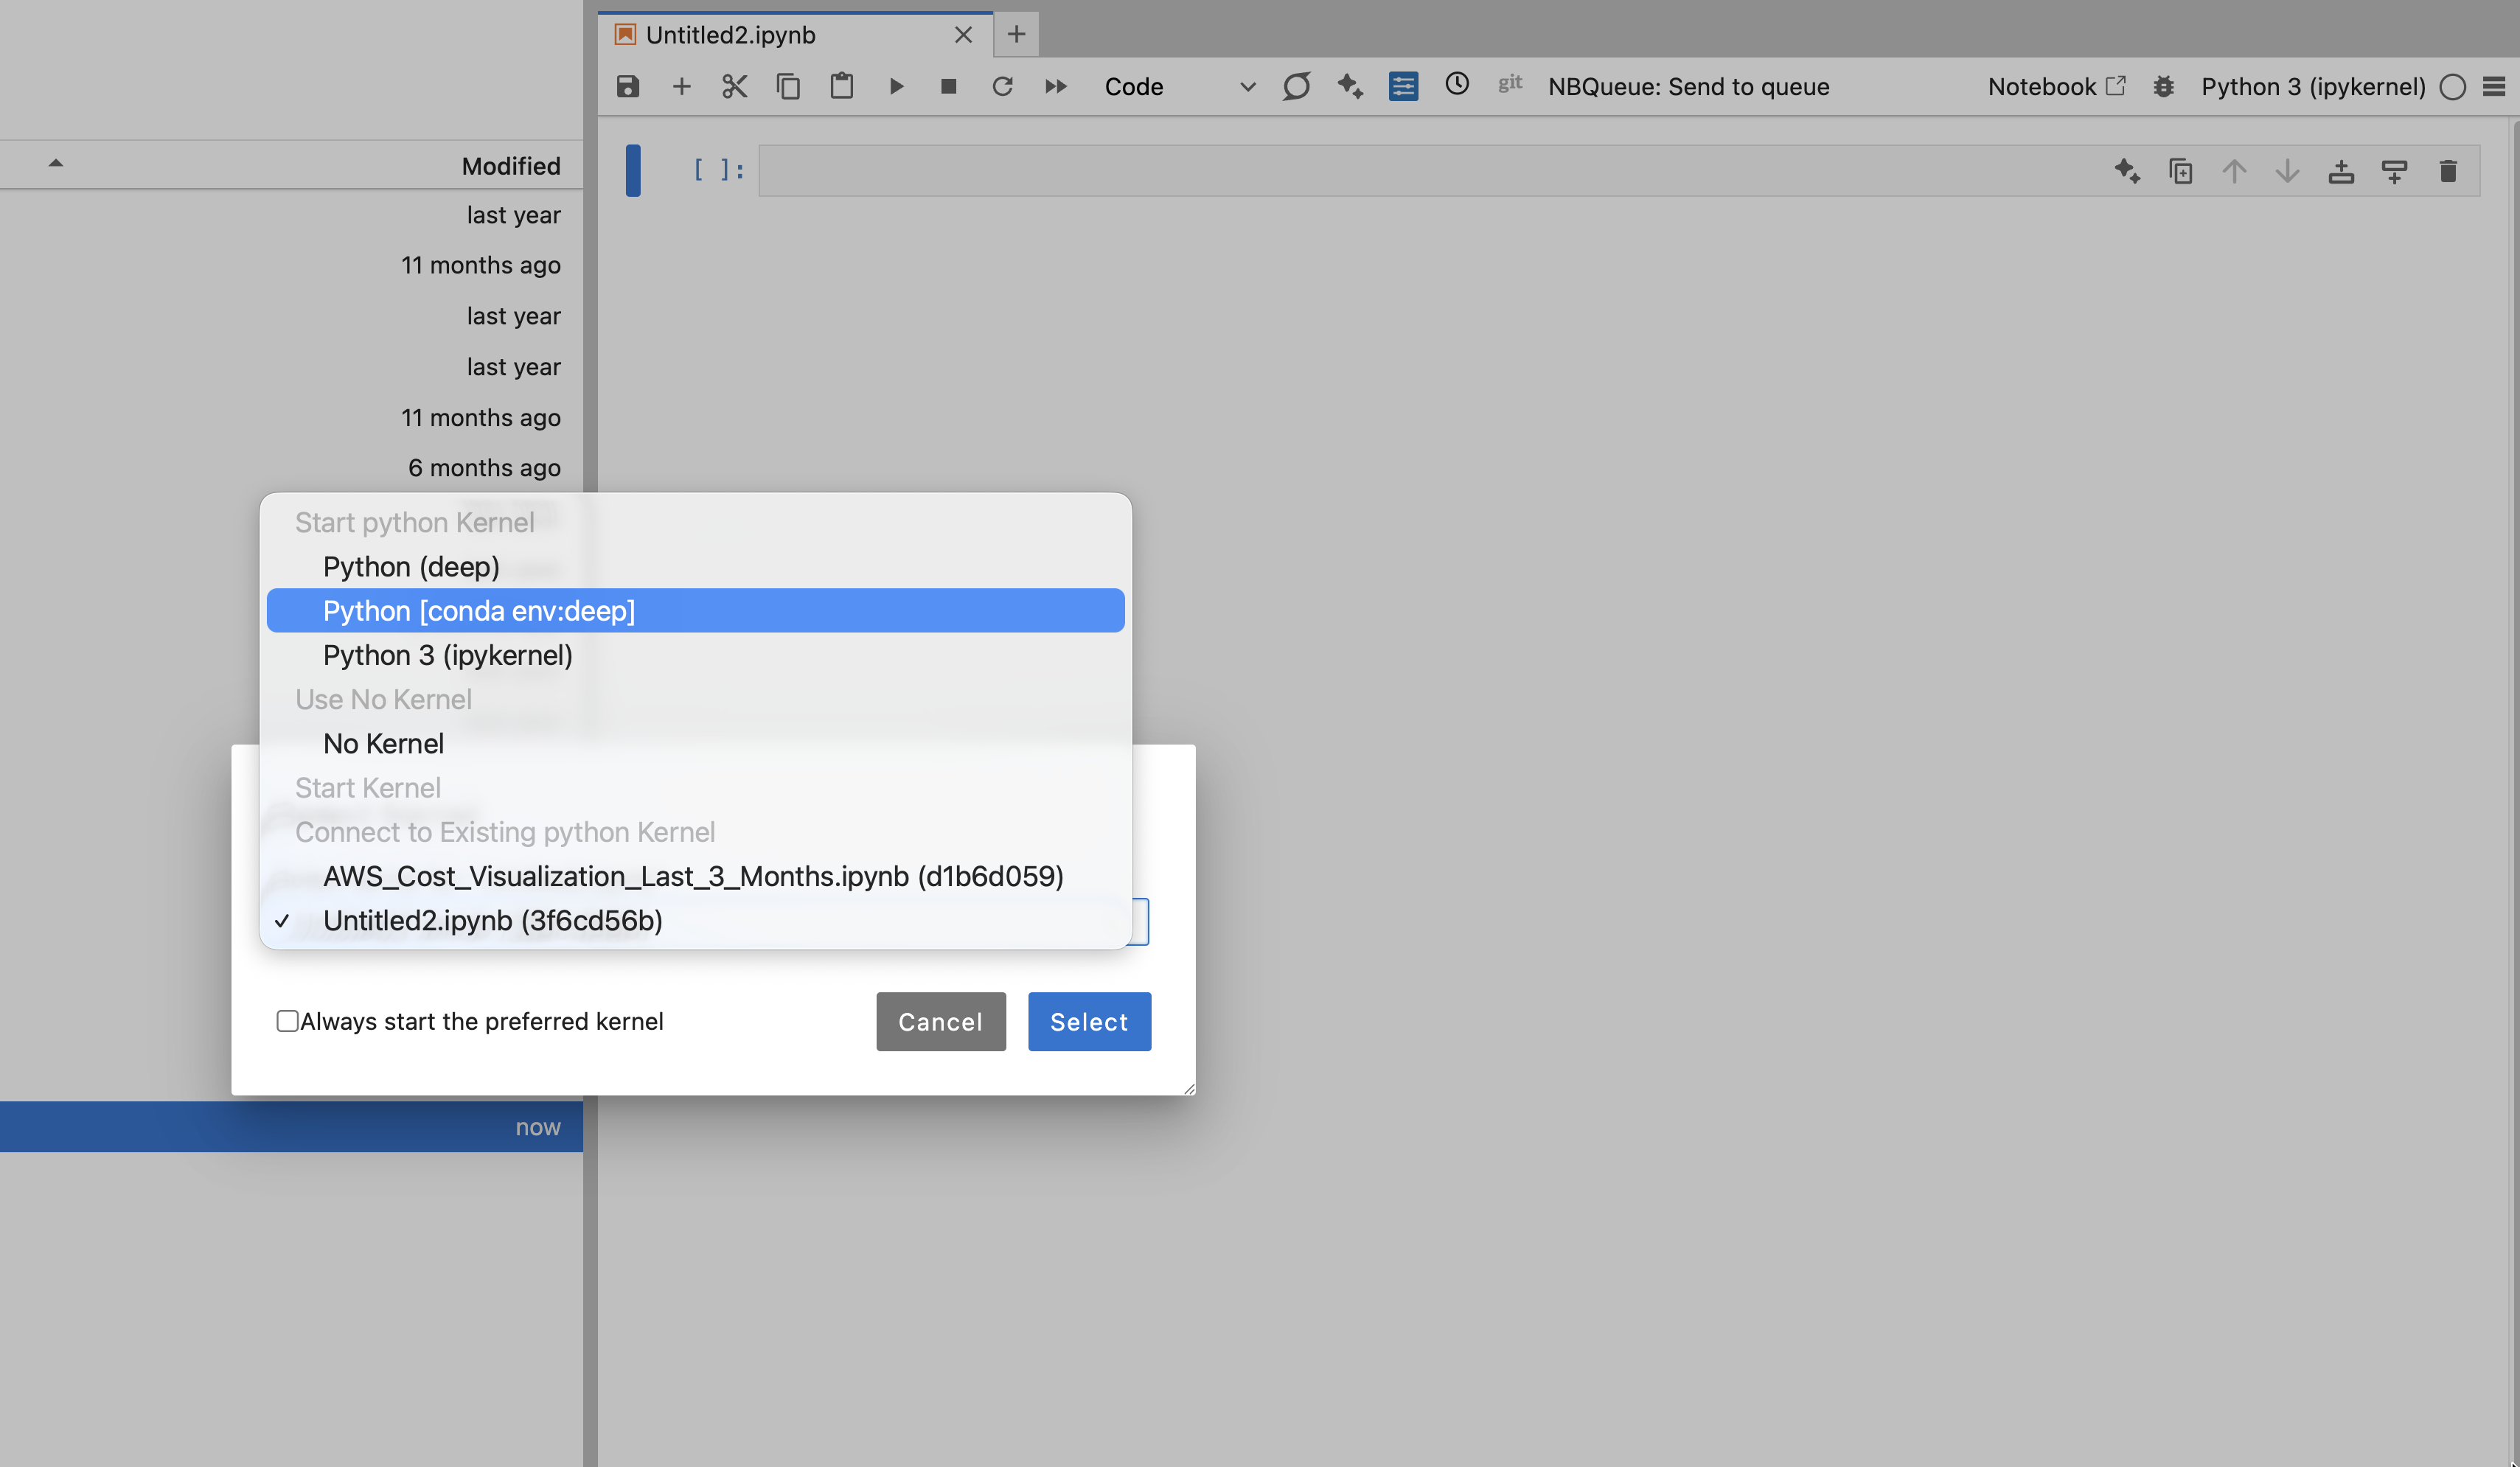
Why this survives a restart The platform is specifically set up to keep your environments safely tucked away in ~/users_conda_envs (inside your home folder). So, when you run mamba create -n myscience, it writes everything to /home/<your-username>/users_conda_envs/myscience. Because it's in your home folder, it'll be right there waiting for you tomorrow!
Two quick things to remember:
- Always put
ipykernelin the environment. If you forget this package, there won't be a kernel to pick from the notebook menu. - You can use
condaormamba. Both do the job, butmambais much faster.
Kernel not showing up? If the kernel doesn't appear in your notebook menu, you can easily register it by hand. Just run this in your terminal: python -m ipykernel install --user --name myscience --display-name "My science env"
Step 6: Get AI Help While You Work
...